HVLP Spray Gun Basics
HVLP Spray Gun Basics
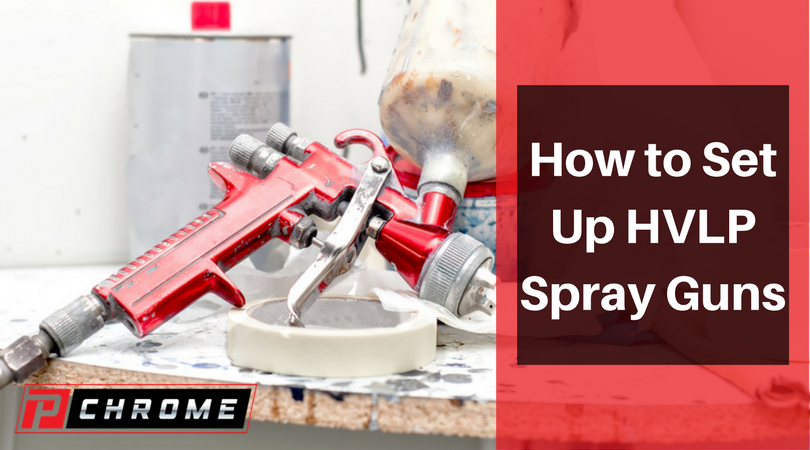
One of the great features of PChrome chrome spray is that you can use it with your existing equipment. If you have a shop that has purchased an HVLP paint spray gun, you can use it to apply your PChrome chrome spray. These guns use a high volume of air coursing through them to atomize the paint rather than relying on high pressure. By using low pressure, more paint will be applied on the car or another object that you are spray chroming, which will help you to save both money and paint. It is important that you understand how to set up your gun correctly, however.
How to get ready to set up
Setting up an HVLP spray gun correctly involves three steps, including choosing the air supply, selecting the correct tip and then setting it up. In order to operate correctly, HVLP guns need a high volume of air. Your gun’s directions will tell you the minimum cubic feet per minute that it requires in order to operate. Your air compressor must be able to produce the required volume constantly, so make certain that it has the appropriate capabilities. You’ll want to set it to where it’s releasing about 90 pounds per square inch. In addition, you will need an HVLP regulator to set the pressure where it enters your gun. Finally, you will need an air dryer that mounts to the wall in order to keep your air lines free of any oil or water.
The tip that you choose is also important. You likely will have received a few with your gun. You’ll want to choose the smallest fluid tip that will work for your project. Small jobs require about a 1.0 tip. In order to complete a large project, choose a tip that is sized at 1.3 or 1.4. If you will use your gun to build primers, a tip size of 1.8 to 2.3 should be chose depending on the thickness that you desire.
Setting up your gun
Each time you are getting ready to use your gun, you will need to set it up. Start by taping a piece of masking paper on your wall for your spray test. Then, set the pressure at your gun’s inlet. You will use the air regulator that you attached to your gun to do this. You will set it with the trigger pulled at about 50 psi to start. Close the air volume control knob and with the trigger still pulled, open it up to the point at which the air volume starts to remain the same and stop.
Next, you will need to open the fan control knob. You are wanting a fan that will be about 6 inches tall when you are holding the gun about 6 inches away from the surface. Then, turn the material knob until it seats and then unscrew it about two and one-half turns.
In order to complete your spray test, hold the gun aimed at the masking paper as if you are going to paint about 6 inches away. Pull the gun’s trigger all the way in for a fraction of a second and then close it. You should see a cigar-shaped pattern on the masking paper. Turn the fan control knob until you are able to get it to 6 inches tall when the gun is 6 inches away from the paper. After your fan control is set, leave it alone.
Next, hold the gun about 8 to 9 inches away from the paper. The pattern should be around 8 to 10 inches long. The coverage should be full in the center with fading coverage going away. If your pattern does not look like this, it is likely because of some common problems. For example, if your pattern shows too much of your PChrome at either end and not enough in the middle, you have too much air flow. If the reverse is true, you have too little. If there are runs in the center, you are either holding the trigger for too long or are holding the gun too close.
If your gun is spraying too much material, screw in the material knob slightly. If that doesn’t help, put it back to where it was and turn down the air pressure on your regulator.
Tune your HVLP gun
In order to tune your gun to where it gives the smallest possible paint droplets without losing full coverage, you will need to tune your gun. To do this, turn the material control knob a little at a time. You can also do the same thing by raising the air pressure. When you get it to where you want it, you’re finished and ready to spray chrome your project. To learn more or for help, contact PChrome today.
